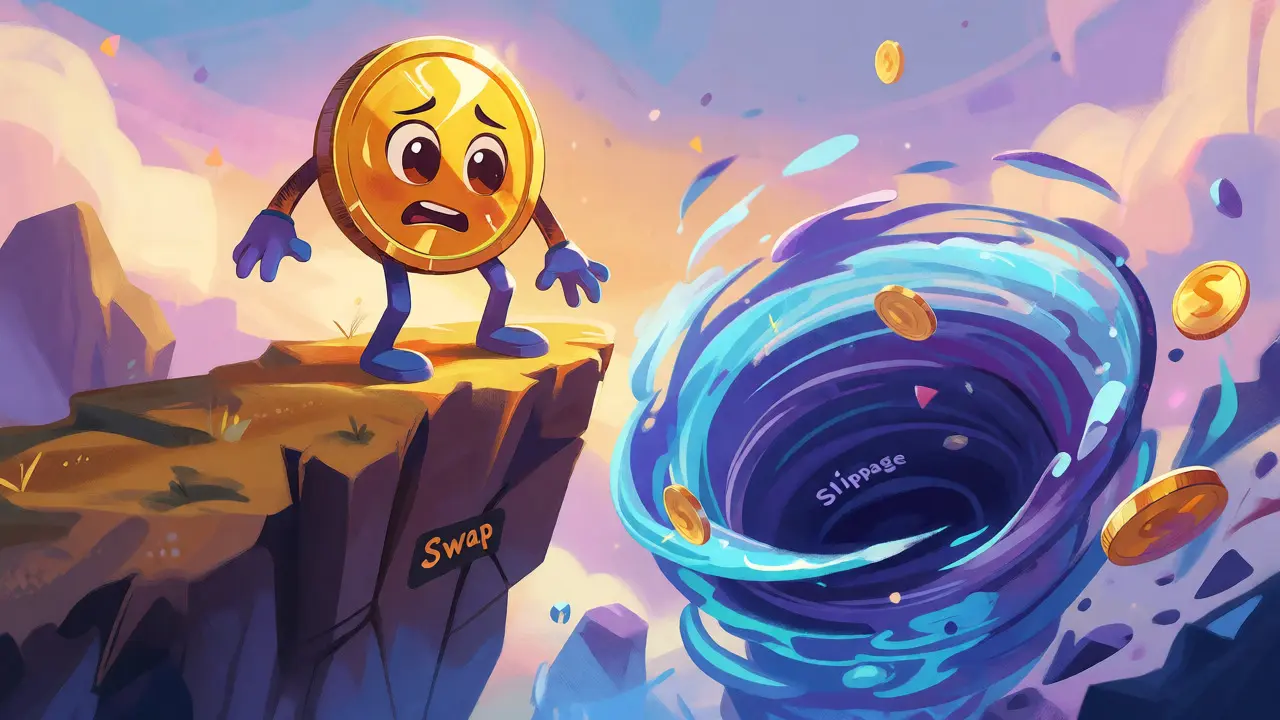
You just clicked "Swap" on a decentralized exchange, expecting to trade your ETH for USDC at the quoted price. But when the transaction confirms, you’ve lost 0.8% of your value. You didn’t make a bad trade; you paid for poor liquidity and slippage. In crypto markets, these two concepts determine whether you keep your edge or bleed it away on every click. If you want to trade efficiently, you need to understand how market depth works and how to calibrate your settings so you aren’t overpaying for convenience.
The Core Problem: Why Your Price Changes Before You Trade
Slippage is the difference between the expected execution price of a trade and the actual price you receive. It happens because markets move, especially in crypto where volatility is high and liquidity can vanish in seconds. When you place a market order, you’re telling the exchange, "Buy this now, regardless of price." If there isn’t enough sell orders sitting at the current price to fill your entire request, the engine moves to the next available price level, which is usually worse. This chain reaction creates slippage. On centralized exchanges (CEXs), this looks like an order traversing the order book. On decentralized exchanges (DEXs) using Automated Market Makers (AMMs) like Uniswap, slippage occurs because your trade changes the ratio of tokens in the pool, shifting the price curve before your transaction even hits the blockchain.
Measuring Liquidity: Depth Over Volume
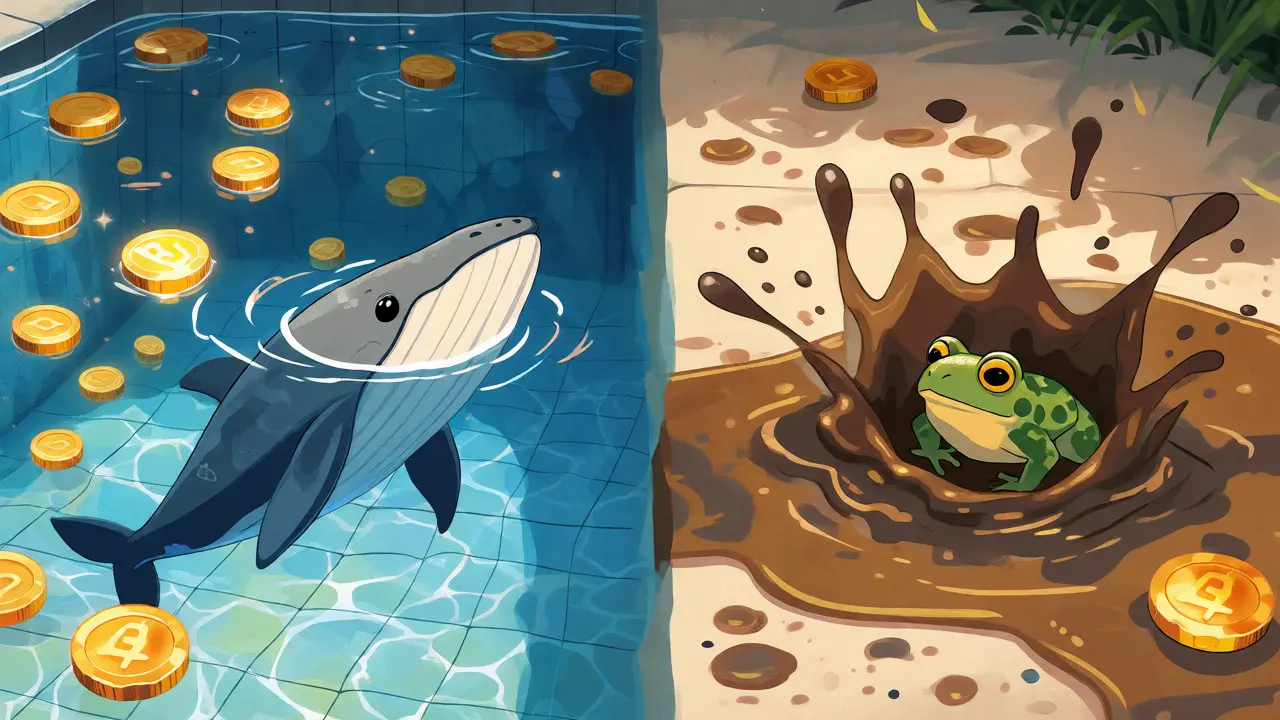
Most beginners look at 24-hour trading volume to judge if a coin is liquid. That’s a mistake. Volume tells you what happened yesterday; Order Book Depth tells you what will happen next. Depth measures how much of an asset is available to buy or sell within a specific percentage range of the current price, typically ±1%. If a pair has $1 million in 1% depth, you can trade up to that amount without moving the price more than 1%. If you try to swap $5 million into that same pool, you’ll eat through all the liquidity within 1%, forcing the price down significantly. This is why Coingecko and other data providers emphasize depth metrics over raw volume. A coin can have high volume but thin depth if trades are happening far from the mid-price, leaving you exposed to massive slippage on large orders.
Centralized vs. Decentralized Execution Risks
Your strategy for handling slippage depends entirely on where you trade. The mechanics differ fundamentally between CEXs and DEXs.
| Factor | Centralized Exchange (CEX) | Decentralized Exchange (DEX) |
|---|---|---|
| Price Source | Order Book (Bid/Ask Spread) | Liquidity Pool Ratios (x*y=k) |
| Primary Cause of Slippage | Eating through multiple order levels | Pool imbalance + Block time delay |
| Control Mechanism | Limit Orders | Slippage Tolerance Settings |
| Main Risk | Partial fills / Non-execution | Front-running / Sandwich attacks |
On a CEX like Binance or Kraken, you control slippage primarily through order type. A market order guarantees execution but not price. A limit order guarantees price but not execution. If you use a limit order, you never experience slippage-you either get filled at your price or better, or you don’t get filled at all. This makes limit orders the gold standard for efficiency on CEXs, provided you’re willing to wait.
On DEXs, you can’t easily place traditional limit orders across all pairs. Instead, you set a "Slippage Tolerance." This is a safety net. If you set a tolerance of 0.5%, and the price moves 0.6% against you due to network congestion or another trader’s action, your transaction reverts. You pay gas fees, but you don’t complete the bad trade.
Calibrating Slippage Tolerance: The Numbers That Matter
There is no one-size-fits-all number for slippage tolerance. Setting it too low causes failed transactions; setting it too high means you’re giving away profit to bots and arbitrageurs. Here is a practical guide based on asset liquidity profiles:
- Stablecoin Pairs (e.g., USDC/USDT): Use 0.1%. These pools are deep and stable. Anything higher is unnecessary risk.
- Blue-Chip Majors (e.g., ETH/USDC, BTC/WBTC): Use 0.1% - 0.3%. High liquidity means prices rarely jump more than 0.1% between blocks unless major news breaks.
- Mid-Cap Tokens: Use 0.3% - 0.5%. Liquidity is thinner, so price impact is higher. Monitor the pool health before trading.
- Low-Liquidity Altcoins/Memecoins: Use 1% - 5%. These markets are volatile. Tight tolerances here will result in constant failures. Be prepared for significant price movement during confirmation.
Remember, if your transaction keeps failing with a "High Slippage" error, increase the tolerance incrementally (e.g., from 0.5% to 1%). Don’t jump straight to 10% unless you are buying a highly speculative asset with very low liquidity.

Strategies to Minimize Execution Costs
Understanding the theory is half the battle. Here is how to apply it to save money on every trade.
1. Split Large Orders
If you need to buy $50,000 worth of a mid-cap token, don’t do it in one transaction. Break it into five $10,000 swaps. This reduces the immediate impact on the liquidity pool or order book, allowing the price to stabilize between trades. You might pay slightly more in gas fees, but you’ll likely save more on slippage.
2. Avoid Peak Congestion Times
Slippage often spikes during periods of high network congestion or extreme market volatility (like during Fed announcements or Bitcoin halving events). During these times, block times may slow down, increasing the window for price manipulation or natural drift. Wait for calmer conditions if you’re trading large sizes.
3. Use Limit Orders on CEXs Whenever Possible
Unless you need instant exit for stop-loss protection, stick to limit orders. They eliminate slippage entirely. Yes, they might not fill immediately, but you avoid the hidden tax of market orders.
4. Check Aggregators
Tools like 1inch or ParaSwap scan multiple DEXs to find the best route for your trade. They often split your order across several pools to minimize slippage automatically. For retail traders, this is often more efficient than manually choosing a single venue.
Pitfalls to Watch Out For
Don’t ignore the bid-ask spread. Even if slippage is zero, a wide spread means you’re starting in the red. Always check the spread before entering a position. If the spread is 2%, you need the price to move 2% in your favor just to break even.
Also, beware of "sandwich attacks" on DEXs. If you set a high slippage tolerance (say, 5%) on a visible pending transaction, bots can see your trade, buy the asset before you, push the price up, let your trade execute at the higher price, and then sell back to you. Keeping your tolerance tight (0.5% - 1%) makes you less attractive to these bots.
What is a good slippage tolerance for Ethereum?
For major pairs involving Ethereum (like ETH/USDC), a tolerance of 0.1% to 0.3% is typically sufficient due to high liquidity. If you are trading smaller altcoins paired with ETH, consider raising this to 0.5%-1% to account for lower pool depth.
Why does my DEX transaction fail with 'Slippage Too Low'?
This happens when the price of the asset moves beyond your set tolerance between the time you submit the transaction and when it is confirmed on the blockchain. To fix this, increase your slippage tolerance slightly (e.g., from 0.5% to 1%) or try trading during periods of lower volatility.
Does slippage affect limit orders?
No, limit orders do not incur slippage. A limit order specifies the maximum price you are willing to pay (or minimum price you will accept). If the market price exceeds your limit, the order simply won't fill, rather than filling at a worse price.
Is high trading volume always a sign of high liquidity?
Not necessarily. High volume can occur in thin markets where prices swing wildly. Order book depth (the amount of assets available within 1% of the current price) is a more accurate measure of liquidity for large trades than total 24-hour volume.
How do I calculate the cost of slippage?
Subtract the executed price from the quoted price shown before you clicked swap, divide by the quoted price, and multiply by 100 to get the percentage. Multiply this percentage by your trade size to see the dollar amount lost to slippage.